And now, what you’ve all been waiting for… A comprehensive guide to making nsima!
As you may know if you are an avid reader of my blog, nsima is Malawi’s staple food. It is consumed twice a day, every day, and if you haven’t eaten nsima (even if you’ve enjoyed a lovely meal with other types of food), then you haven’t eaten– period. Chances are that if you ask a Malawian about their favorite food, it will be nsima.
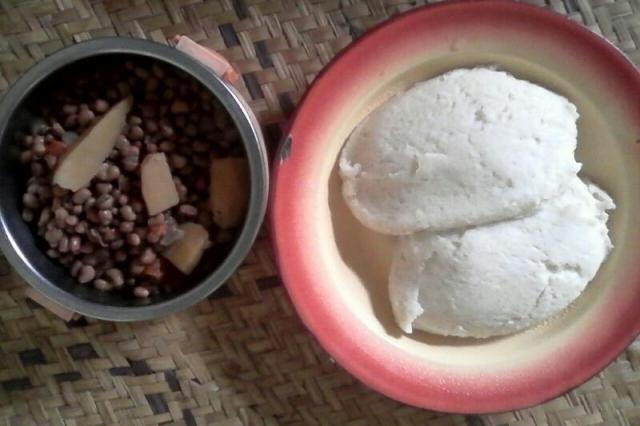
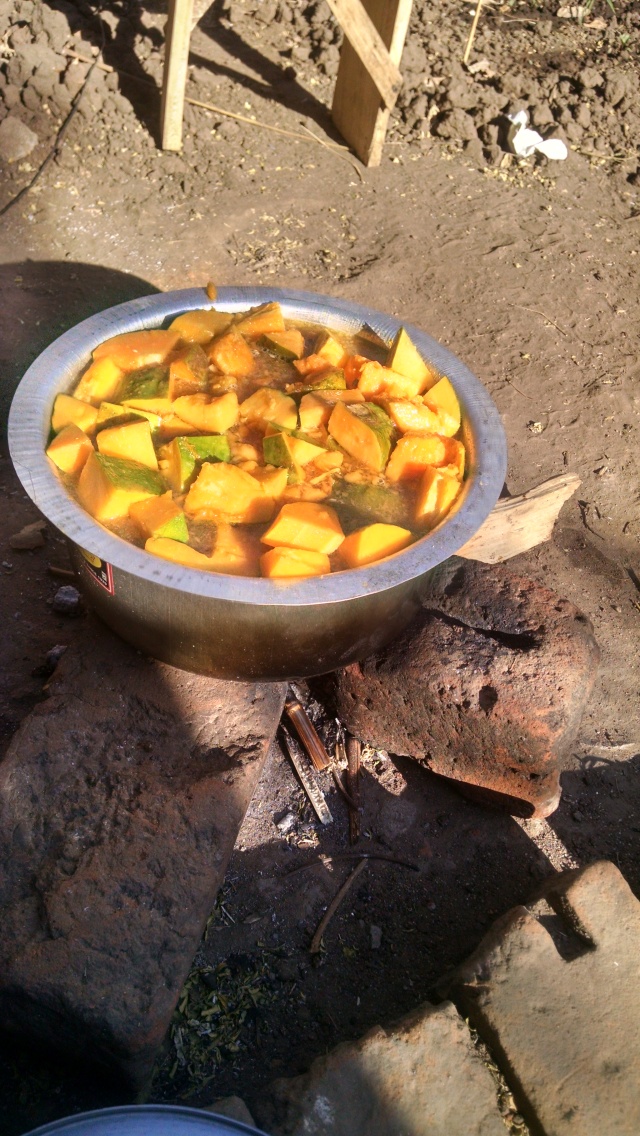
So what does this ever popular food taste like? The best description I have heard comes from my friend Corey who described it as unflavored, congealed grits. It’s bland, boring, and starchy. For this reason, nsima is always consumed with ndiwo, a side dish such as fish, greens, meat, beans, eggs, etc. The real purpose of nsima is to keep your belly full and act as an edible utensil for delivering other food to your mouth.

So how is it made? To answer this question, I decided to embark on a mission to follow one patty of nsima from it’s conception to consumption.
Step 1. Prep & plant.
Prior to planting, you must prepare your plot of land. For Malawians, this means burning old brush and forming rows. As I don’t have my own plot of farmland, I decided to just plant ten seeds in my backyard and see what happened. This, of course, has inspired laughter all over Kasinje, along with countless jokes about whether my measly harvest is going to be enough to feed me for the year. Telling people that I only planted ten stalks is my go-to joke now, as it always gets a hearty laugh.

2. Wait & weed.
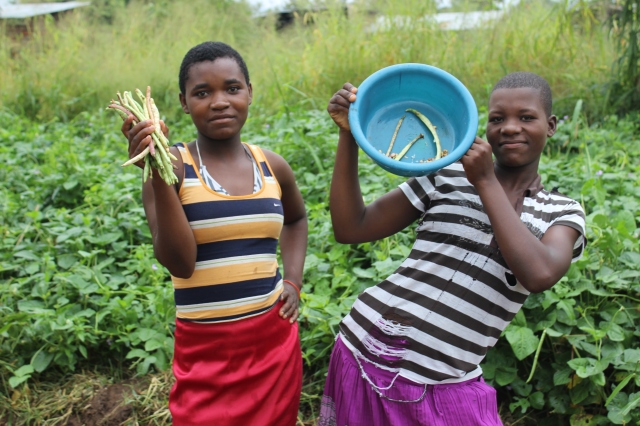
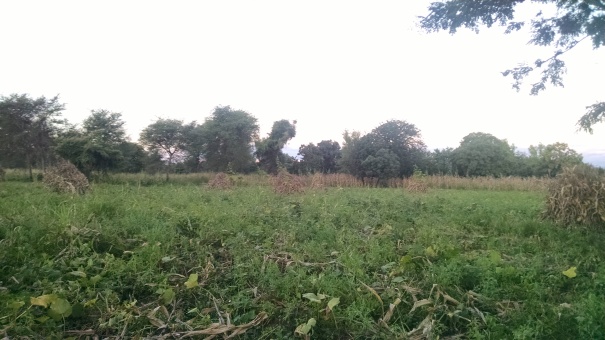
The next step is to wait for about three months for the maize to mature. Hopefully, it won’t rain too much or too little and your harvest will be bountiful. (Due to the effects of global warming, Malawi has not only seen an increase in droughts & flooding, but high variability in the start time of rainy season, making it increasingly difficult for farmers to time their planting correctly). If the seedlings are destroyed from planting too early then families are forced to re-plant, granted that they have extra seeds. During this growing period, my neighbors are always extremely busy weeding their fields.


Step 3. Harvest!
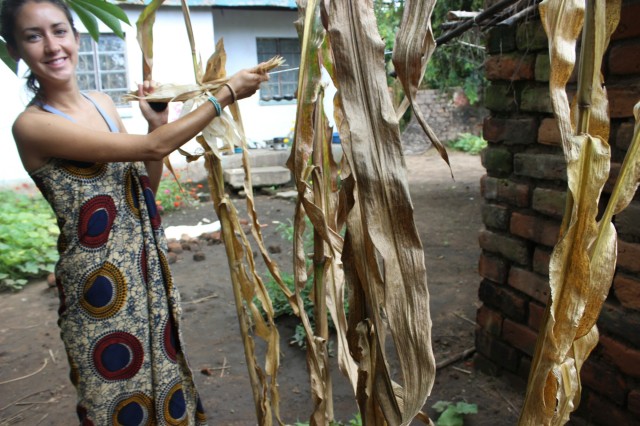
This was the most exciting part for me, as I had been bragging to all of my friends and neighbors about my maize for months. Last week, it was finally ready! Once the maize matures, the stalks begin to dry and turn yellow. This is when Malawians begin chopping down the stalks and gathering them into huge piles. This way, when it comes time to remove the ears from the stalks, it’s a bit easier. Last week, I helped a friend with the slashing and stacking and it was certainly a chore. (I’m mostly surprised I didn’t trip over one of the rows in the process of carrying an obstructive load of stalks on my shoulder).
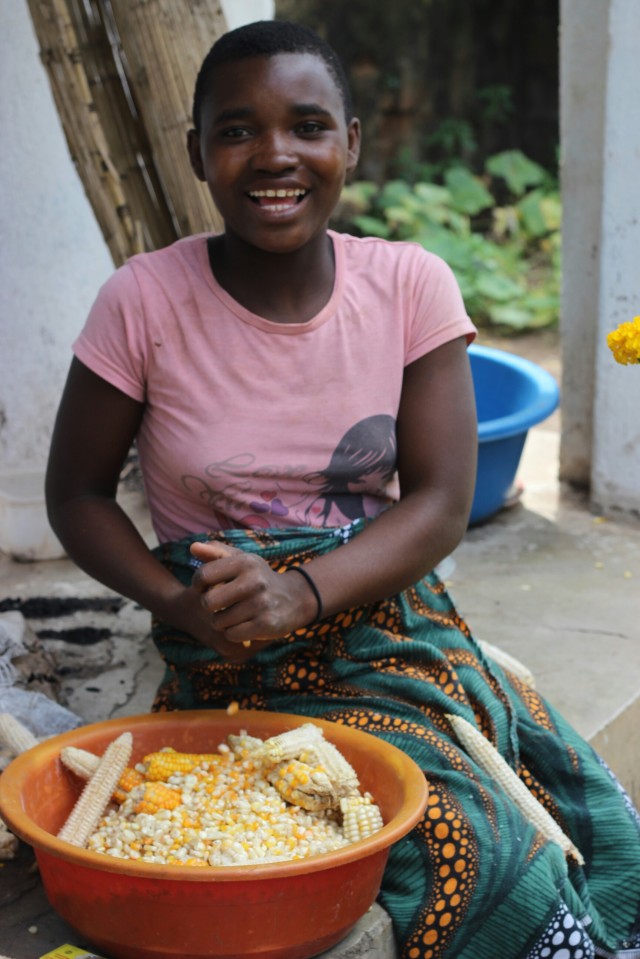
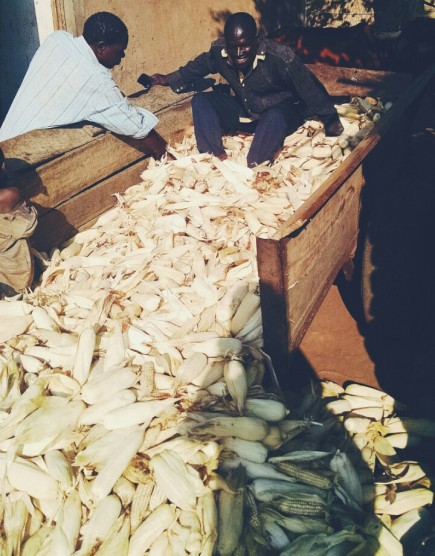
Step 4. Shuck corn and remove the kernels.
After assembling the stalks into piles for convenience, the ears are removed and husks are shucked. The husks are then typically loaded onto an ox cart and delivered to the family’s home, where most of the corn is stored in an extra bedroom. It’s amazing seeing an entire room filled to the brim with corn! While my harvest was less impressive, I was still extremely proud, as I felt I had become a true Malawian. Harriet, Sipe, and I shucked the corn in my backyard and proceeded to the next step.

Step 5. Sun dry the kernels.
After removing the kernels from the cob, they are spread out on maize sacks and put in the sun to dry. This is definitely a team activity, as the corn must be fiercely guarded from goats, cows, and chickens. Once fully dried, the kernels will make a certain noise when you swish them around on the mat and it is only then that you know it’s ready.

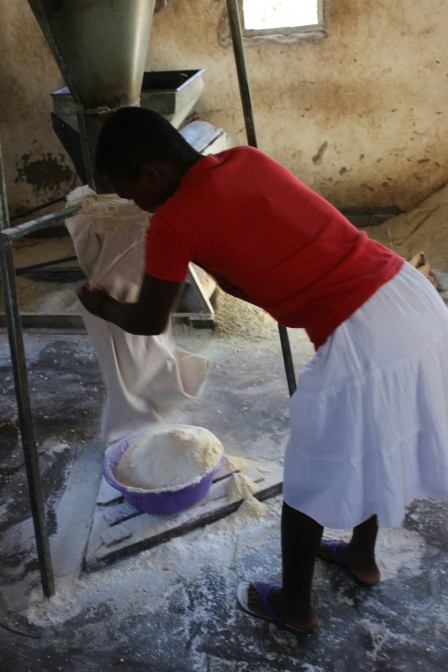
Step 6. Mill the maize.
Even though the maize mill is one of the most iconic spots in the village, I embarrassingly had never been until last week. I walked with my little bucket of maize on my head while women carrying huge basins passed by. When we arrived, Harriet and Sipe showed me the ropes and I learned that milling maize is as easy as pouring the kernels into a funnel and placing a bucket underneath to catch the corn flour.
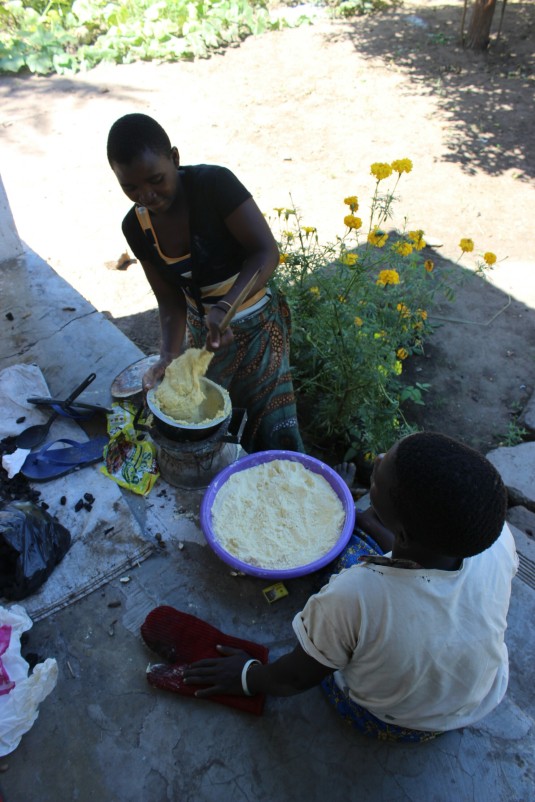
Step 6. Cook nsima!
As aforementioned, nsima is prepared twice daily, which means that by the age of 10, all Malawian girls are experts. This also means that when I occasionally cook nsima for myself, it is always critiqued. To begin, a pot of water is put on the fire and heated up until steam arises. After that, a few scoops of corn flour are added and stirred in. You then must wait for the porridge-like mixture to thicken and boil for awhile. Once the color slightly changes and the mixture is of the correct consistency, a bit more corn flour is added and the aggressive stirring process begins. Nsima must be stirred constantly for the last five minutes that it’s over the fire, and there is a very particular way in which Malawian women do so. (Did I mention that they grab the pot with their bare hands while stirring? Check out Harriet below).
Step 7. Serve the nsima.
Finally, the nsima is scooped out of the pot with a special spoon called a chipande and plated. It can either be enjoyed communally in a big stack to be shared by the whole family, or placed on separate plates with the ndiwo.